02 jul Deep Research com IA Generativa: Como a Inteligência de Embalagem Automatizou Pesquisas Técnicas Complexas com Multi-Agentes
11 maio Pupila Brand Studio acelera crescimento e multiplica clientes com migração para AWS e DNX Brasil
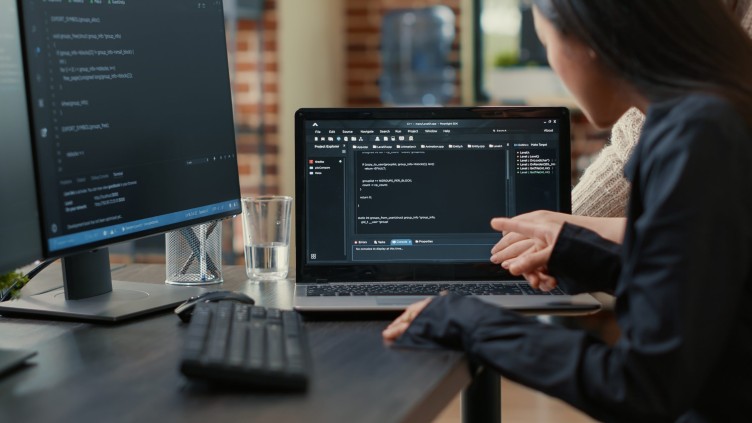
02 jul App Modernization, Blog, Data Modernization Modernizando para além da nuvem VMware: adotando a AWS para uma infraestrutura à prova de futuro 2 julho 2024 Por DNX Twitter linkedin Continue reading
15 mar Blog, Instituições Financeiras, Inteligência Artificial Definindo uma estratégia de múltiplas contas na AWS para bancos digitais 15 março 2024 Por DNX Twitter linkedin Continue reading
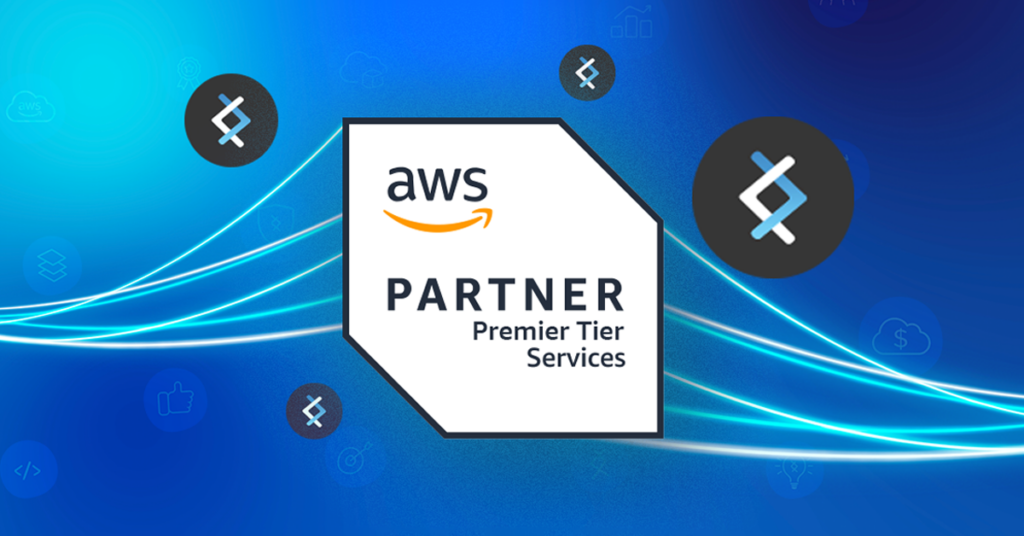
20 jun Blog DNX Conquista o Status de AWS Premier Tier Services Partner: Um Testemunho de Nossas Capacidades de Modernização 20 junho 2023 Por DNX Twitter linkedin Continue reading
22 maio Blog, Well-Architected Blog Well-Architected Framework – O pilar da Sustentabilidade 15 dezembro 2023 Por DNX Twitter linkedin Continue reading
16 mar Blog Os benefícios de segurança que AWS pode prover para uma startup do setor de insurtech 16 março 2023 Por DNX Twitter linkedin Continue reading
10 fev Blog Os conceitos básicos de migração para a nuvem 2 outubro 2023 Por DNX Twitter linkedin Continue reading
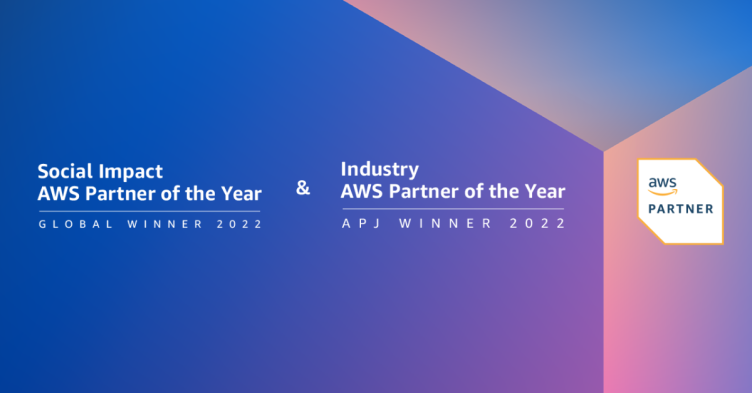
06 fev Blog DNX Solutions ganha dois prêmios de parceiro do ano da AWS 10 março 2023 Por DNX Twitter linkedin Continue reading
06 fev Blog, Managed Services Blog Saiba mais sobre os benefícios do Managed Services para a sua empresa 15 dezembro 2023 Por DNX Twitter linkedin Continue reading
06 fev Blog One Foundation da DNX Brasil: melhore o desempenho de sua empresa 6 fevereiro 2023 Por DNX Twitter linkedin Continue reading
06 fev Blog, Well-Architected Blog Saiba o que realmente são as práticas Well-Architected da AWS 15 dezembro 2023 Por DNX Twitter linkedin Continue reading